Creating the perfect cup of coffee is equal parts an effort of science, and a work of art. And as with any other creation, there are a few golden rules that if followed correctly, almost guarantee a flawless end result. When it comes to the fated brown bean that has the world dancing to its tunes, there are a few pearls of wisdom that have been passed down from one coffee enthusiast to the next. Caffeine drinkers near and far will attest to the fact that coffee beans when ground immediately before you brew; bring out more flavor in your cup of Joe.
What then happens if for any reason you don’t have access to a coffee grinder in your home? Does it mean, you’re destined to a life of mediocre cups of morning coffee for the rest of your life? Of course not!
We’re here to offer 7 methods on ‘How to grind coffee beans without a grinder‘. So, stick with us a little more to step more on to becoming a self made barista.
How to Grind Coffee Beans Without a Grinder – 7 Simple Hacks
1. Hammer or Meat Tenderizer
It’s hammer time. This is one of the most fun methods to bring out the inner caveman hidden within you. You might need to rummage around in your garage or through your kitchen cabinets. While really any hammer will do, one with a wider head is the most sensible option. If your home does not house a hammer, you can turn to a meat tenderizer to get the job done. It is a device usually used for softening meat before cooking but translates well to suit your needs in this situation as well.
Steps on How to Grind with Hammer
- Put the beans in a bag, preferably plastic or a jute bag.
- Now press the beans with the hammer or the tenderizer by exerting firm pressure. Remember to not hit the beans or you will ruin it all.
- Repeat until the desired grind size is reached.
Smart Tips
While there’s no denying this can be a lot of fun, it can also create a bit of clutter. A smart move would be to first place the beans in a bag of some sort so that they don’t scatter all across your kitchen counter. Also, remember to place the bag over a napkin or some other sort of protection. You don’t want to damage the surface below. Stop every few seconds to view your level of progress. If you don’t you might be left with powder too fine, or a grind that is too uneven to use.
Also Read: The Perfect Grind Size Chart
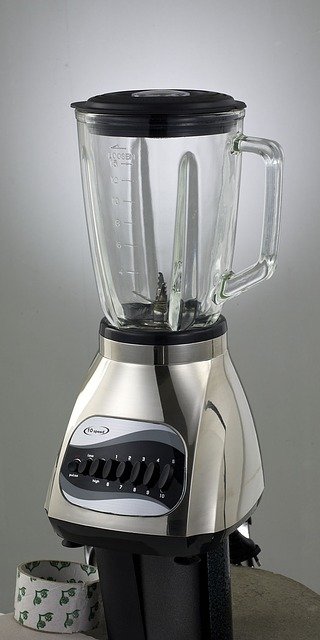
2. Grind Coffee by a Blender

A common participant in most of the homes all across the world. This kitchen accessory doubles down as a wonderful replacement for a coffee blender when the need arises. The blades in a blender slice through the coffee beans with some accuracy similar to a coffee grinder. A few blenders also allow you to set the grind size offering more control over the end result.
Step by Step Grinding Beans with a Blender
- Add a small number of beans into the blender jar.
- Tilt the blender a little so that a larger amount of coffee beans move towards the blade path ensuring an even grind.
- Grind using the ‘Pulse’ technique, that is, short and quick bursts.
- Repeat till the desired coffee grounds are reached.
Smart Tips
It is important to note the glaring lack of water in this process. A key ingredient that usually helps the blender run smoothly. It’s therefore important to remember to take a break from blending every few seconds. The beans grind best in short bursts as opposed to a long run of the blender. Open the lid and check the progress of your efforts. For the best results, tilt the blender on the side and let it pulse in short bursts so that the coffee beans don’t burn due to the heat created through friction.
3. Grind via Rolling Pin
A staple in most households, the rolling pin enters as an easy alternative to coffee grinders. The amount of pressure you exert will determine the success in the grind size. Controlling the consistency however is a tricky matter. Just remember to make sure that your favorite coffee beans are all arranged in a single layer before you begin.
Steps to Grind Coffee Beans by a Rolling Pin
- Put the desired amount of coffee beans in a transparent plastic bag, or you can also use parchment paper by sealing it on all sides so that it doesn’t get spread all over. With a transparent bag, the benefit is that you can watch the grind size while performing the process without having to open it again and again.
- Like the hammer method, crush the beans by moving the rolling pin over to the beans, crushing them.
- Now roll over back and forth to crush the smaller fragments into coffee grounds. Repeat until you reach the desired grind size.
Smart Tips
This can turn into a rather messy method at times. To avoid any sort of carnage on your countertop, it is advised to place the coffee beans on some kind of paper or napkin. Fold up the edges so that when you roll on top of them nothing spills out. A sealable plastic freezer bag can serve as the perfect case for the coffee beans in this situation.
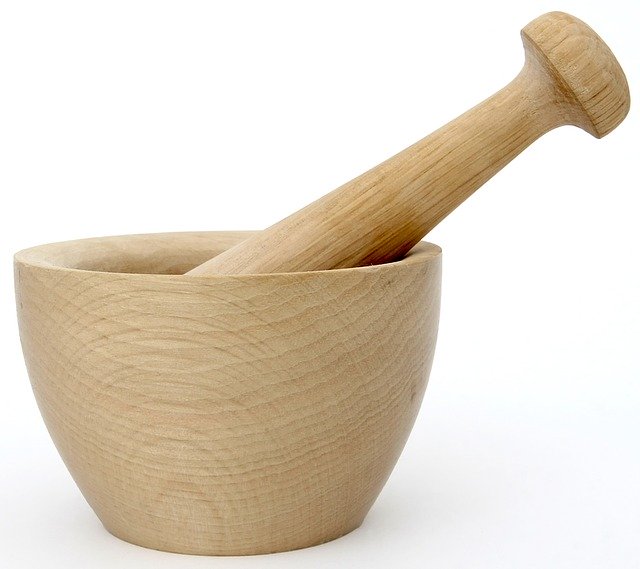
4. Use Mortar and Pestle

Walk a few steps back in time or across a few borders into coffee drinking countries. Chances are high that you would come face to face with someone using a mortar and pestle to grind their coffee beans into powder. The manual method takes some workforce; in return, it offers a comfortable extent of control. You can stop whenever you are satisfied with the size and consistency of the grind.
Step by Step Mortar and Pestle
- Fill the Mortar about 1/4th so that beans don’t jump out.
- Crush the beans with a twisting motion of Pestle into fragments.
- Apply more pressure and roll the coffee around till the desired grind size is reached.
Smart Tips
When you use this apparatus, be sure to have a firm grip on the mortar to prevent it from slipping. Start with a small number of coffee beans at first for best control as it will be easier to grind. Once you are happy with the size and consistency, you can always add more to suit your needs and tastes. But be careful you don’t grind them too fine because a fine size will pass through any filter when brewing.
You might like: Best Manual Coffee Grinders
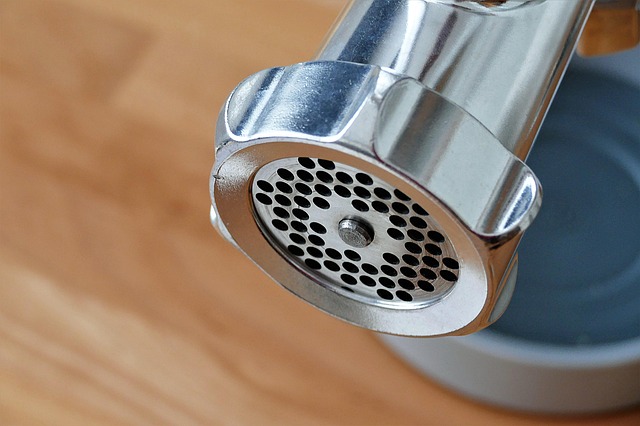
5. Use a Hand Mincer

We’re taking it old school with our next tool. The hand mixer uses equal parts of manual and mechanical strength to grind your coffee beans. You might have one lying around if meat mince and pies are a regular item on your house menu board. In the past, the device has even been used to grind certain spices to a powder. You can work a plastic or metal hand mincer to bring you anything between a coarse to an extra fine grind. The finer you want the beans, the more times it will need to pass through the hand mincer.
Steps to Grind Beans by a Mincer
- Place the beans into the mincer.
- Squeeze the mincer so that all the beans pass through it.
- Repeat the steps until the desired beans and size is reached.
Smart Tips
Remember to put in a little coffee to begin. It will be easier to turn the crank and get the grind size you need. You can always add more later on as per your coffee cup demand. Don’t forget to place a container of some sort to catch the grinds so you don’t mess up. If you’re grinding right into the coffee maker, that can work too.
6. Grind Coffee by a Food Processor
Another staple in most kitchens, the blades of a food processor help slice through your coffee beans in no time at all, however with no way to set the exact grind size. This apparatus offers perhaps the least control over the grind size than any other in the list. Be sure to check the grind size at regular intervals so you know where you stand.
The method goes slightly similar to that of a blender. Use small and short bursts to grind beans and avoid heat.
Smart Tips
The result is a perfectly coarse grind that you can pour into in a French Press and sit back and enjoy your morning cup of coffee. The coffee grinds have been known to get stuck at the bottom of the sides of a food processor at times. Simply scrape it off with a spoon or knife before you pulse once more. Like with a blender, remember to pulse in short bursts or you run the risk of burning the beans and treating yourself to an off-putting cup of coffee.
7. Use a Knife to Grind Coffee Beans
If everything else fails, all kitchens are usually equipped with a knife. Though this process might take a little longer than the others on the list, the results are equally rewarding. No- we aren’t asking you to chop the coffee beans into tiny pieces. That would be a painful process in more than one way and you could end up hurting yourself. Do not use the sharp side or pointy end of the knife for this attempt. Instead, it is the flat part of the knife you need. All you have to do is exert a little pressure and crush the coffee beans with the flat side as you would with garlic cloves and draw the knife towards you.
Step by Step Grinding Beans by Knife
- Place the coffee beans aboard.
- Now from the flat part of the knife, try crushing beans by exerting flat pressure. Make sure you put some paper napkin over the knife so that the beans don’t fly away.
- Now after crushing into fragments, pull the sharp side of the knife slightly towards yours from within the crushed beans. Repeat till the desired grind size is achieved.
Smart Tips
As with the previous tools, when using a knife to shatter your coffee beans, you might see a few strays flying around your kitchen. Be sure to lay the beans on a safe surface like a cutting board first. Naturally the wider the blade of the knife, the easier the process will be. It is one of the smartest choices to turn to for a coarse grind of coffee.
You might like: Best Espresso Grinders
At the End of the Day
Coffee drinkers come in all sizes and are spread across all corners of the world. Coffee beans crushed right before you brew bring through an extra punch of flavor. It is a fact no coffee drinker would dare refute. So if you’re stuck in the middle of nowhere or in the middle of somewhere you can’t get your hands on a coffee grinder, don’t let a little thing like that slow you down. As we have portrayed, nothing can come between you and an impeccable cup of coffee.


